Authorize the Integration
- Login to Textiful
- Go to your Campaign Page
-
Click the Create Campaign button

-
Select the 'Collect Emails' or 'Collect Emails & Names' quick start template option
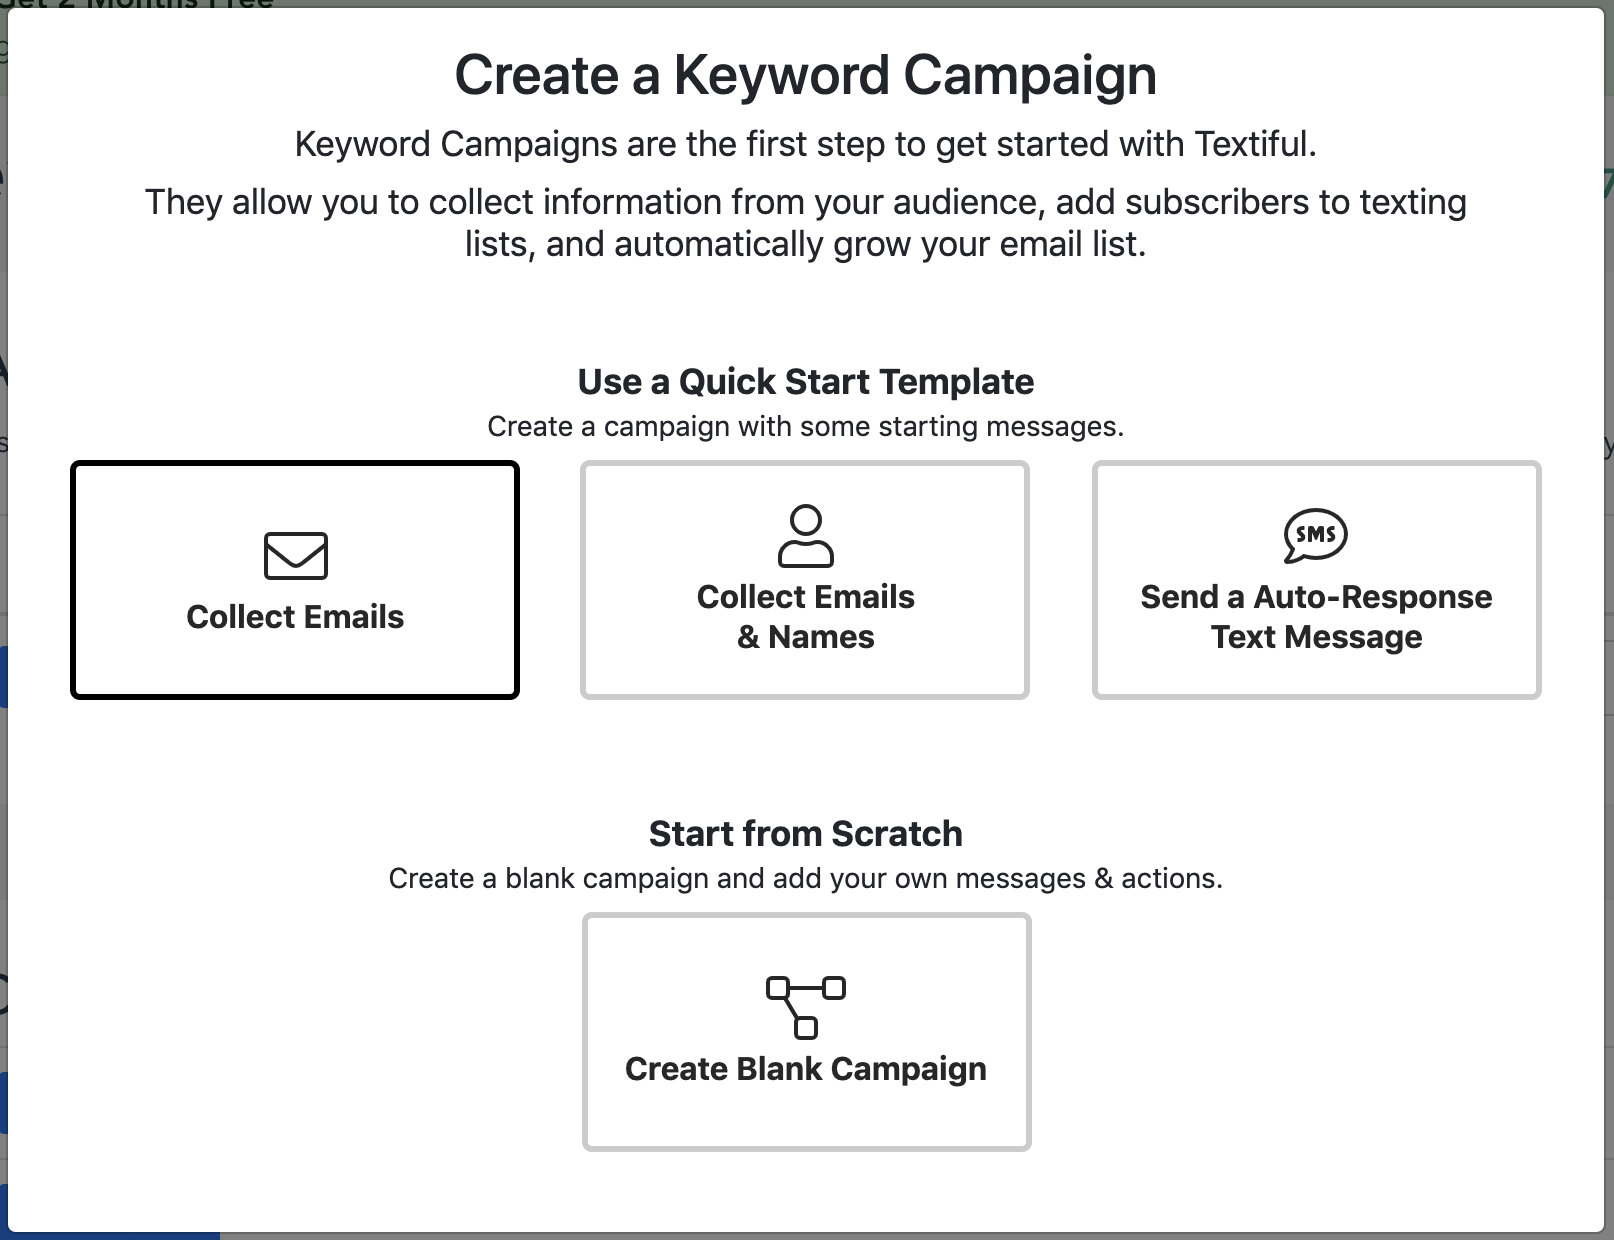
- Your new campaign will be created and you'll be asked to add a keyword. You can add a keyword to your campaign or click cancel.
-
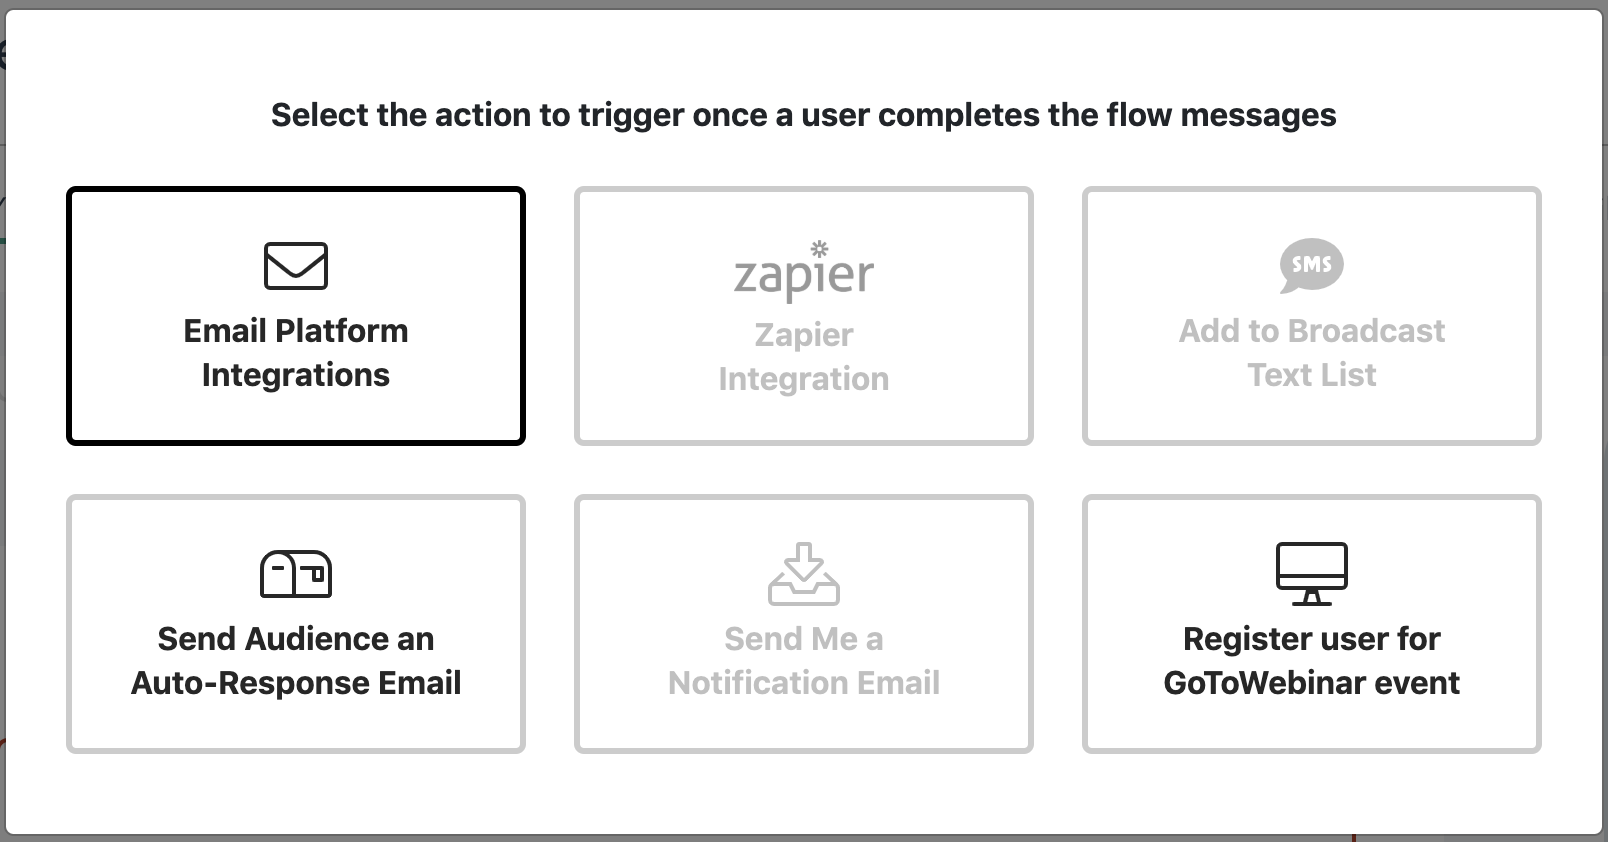
Click the 'Add Actions & Integrations' button

-
Click the 'Email Platform Integrations' option
-
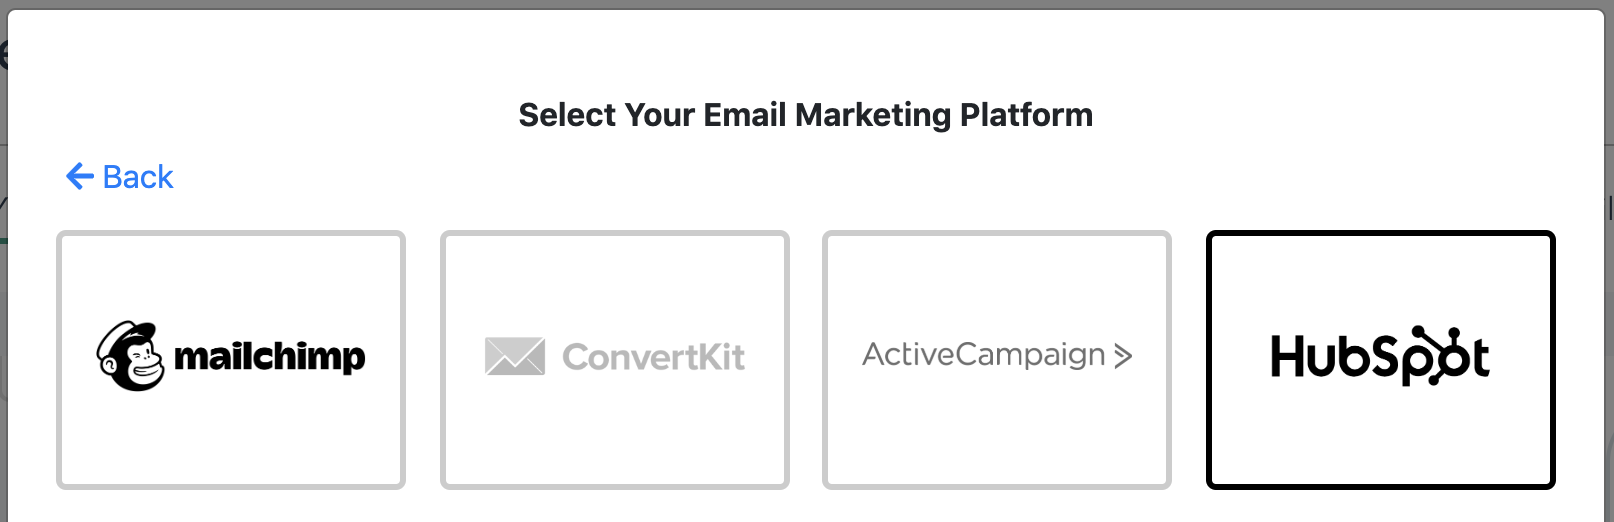
Click the 'HubSpot' option
-
Click the appropriate link to allow Textiful to integrate with HubSpot
You can chose to integrate with or without HubSpot Workflow support.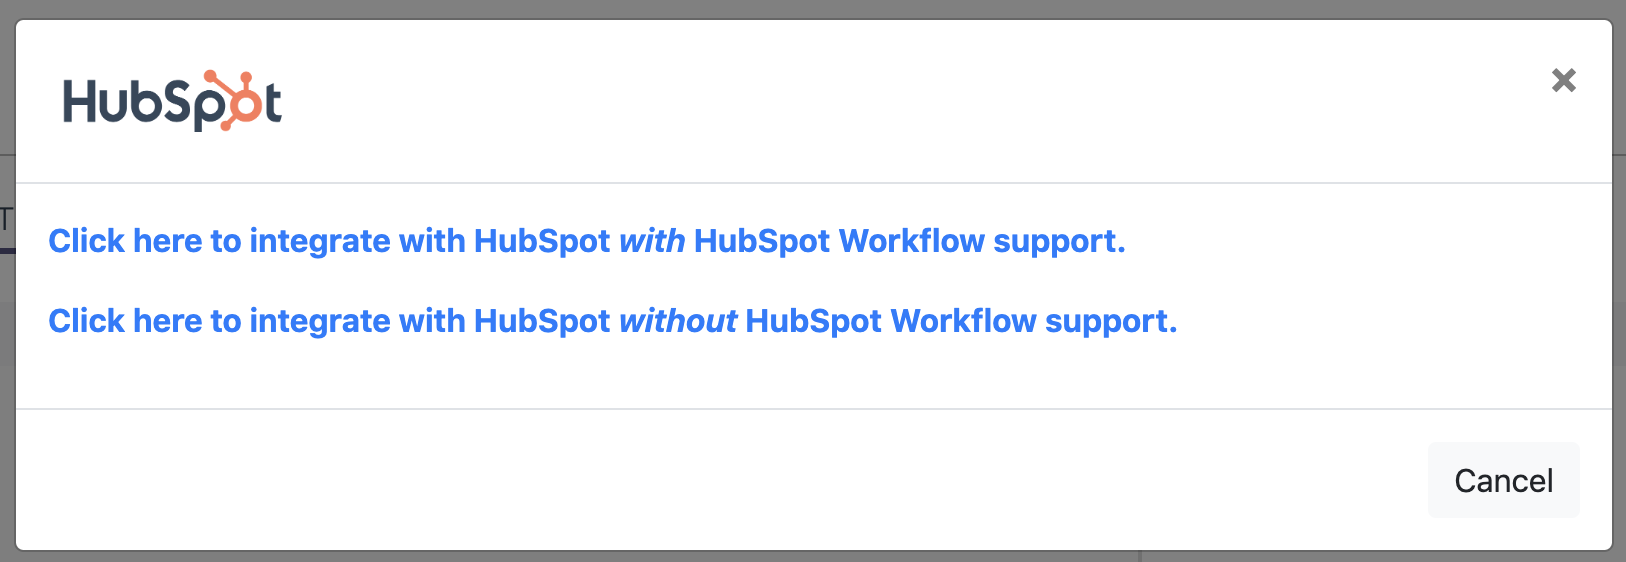
-
Enter your HubSpot credentials
- Textiful is now integrated with HubSpot!
Customize your integration in the below sections.
Text to Subscribe HubSpot Integration Options
Once the integration has been authorized, click on the HubSpot box to customize the integration.
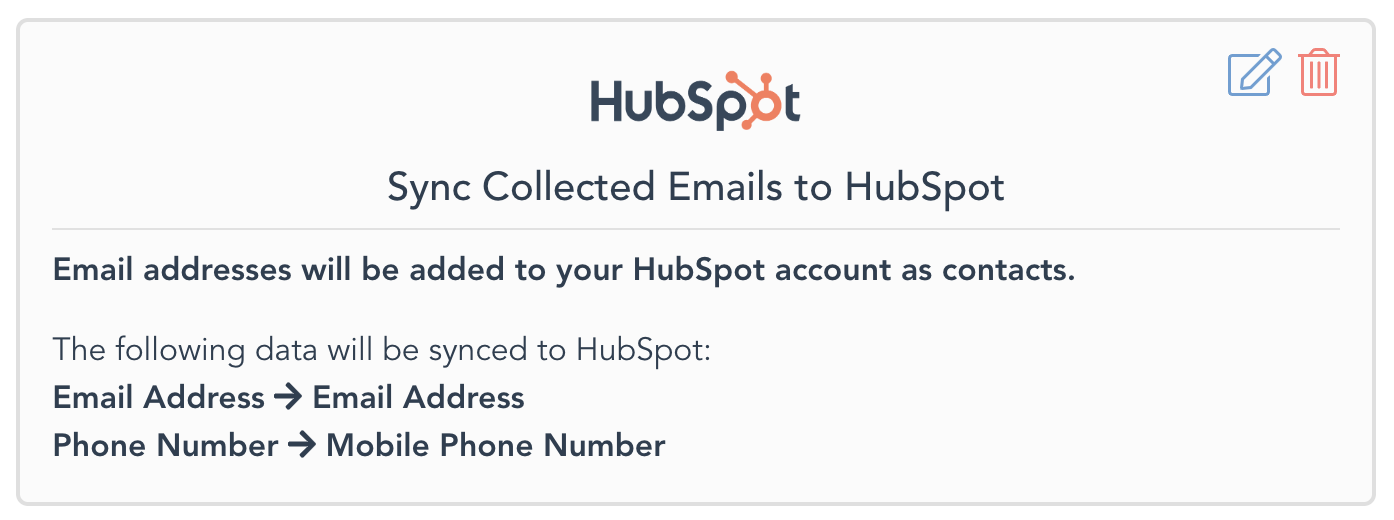
Add Contacts to HubSpot
When an audience member completes your campaign, Textiful will automatically add all newly collected email addresses as HubSpot contacts.
Add Contacts to Lists & Workflows
You can add contacts to one or more HubSpot Lists & Workflows. Simply check the box of the list and/or workflows that you'd like your contacts to be synced to.
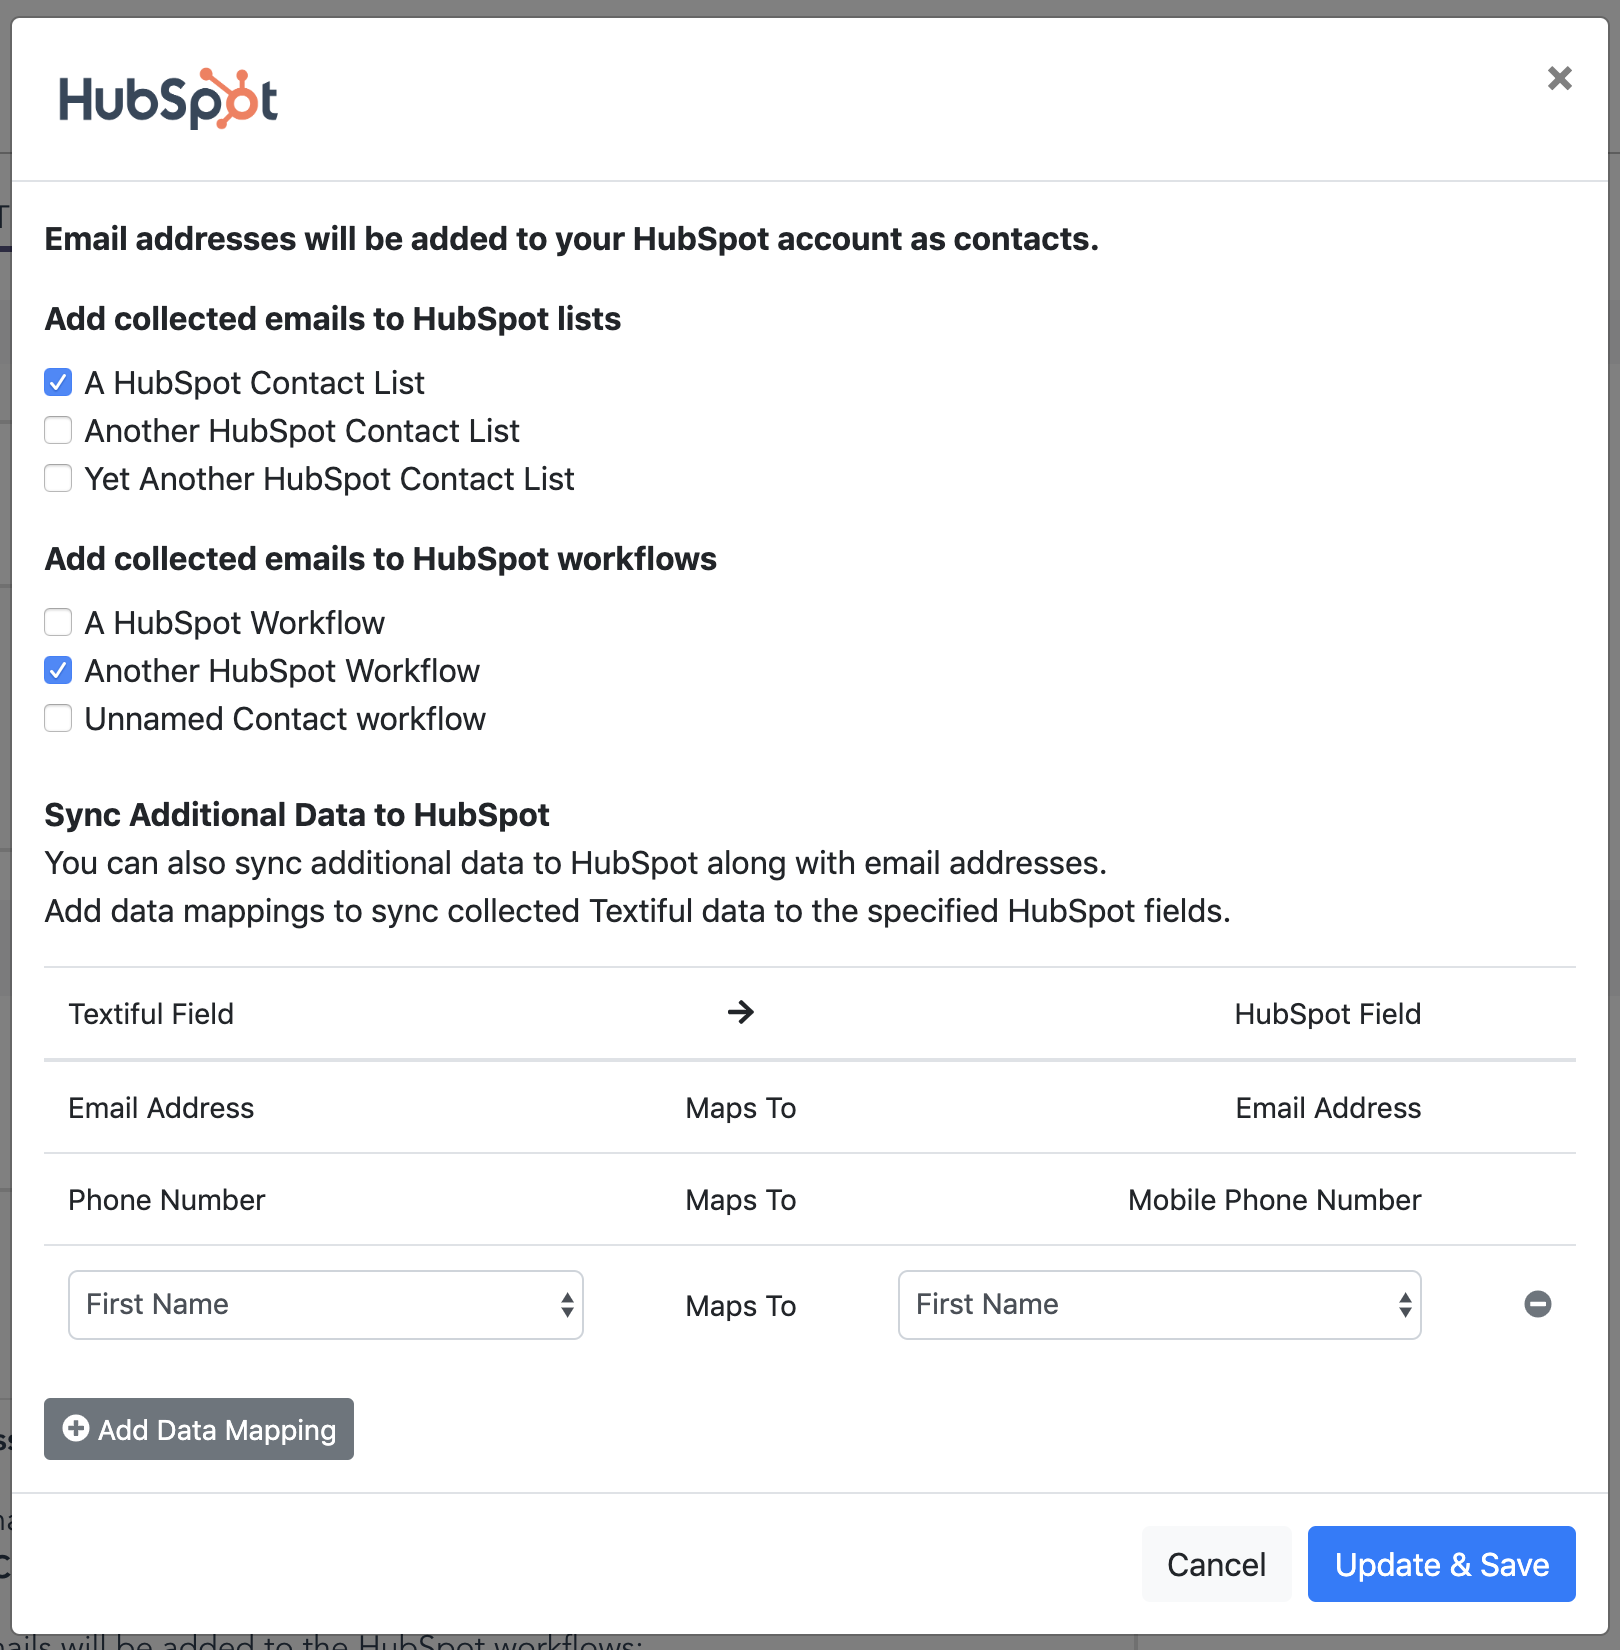
Map Data Syncing
You can chose to sync additional information that was collected in your campaign. The "Sync Additional Data" section allows you to add other information - like first names, phone numbers etc. - to your HubSpot contacts.
Click the Add Data Mapping button and select the appropriate option within the dropdown to map data to HubSpot.